Whether you’re a camper, survivalist, or the average joe, odds are, every man will have to start a fire or two throughout the course of their life.
You might simply need to build a campfire for a family camping trip, you might need to fire up a stick smoker, or heaven forbid.. You might need to start a fire to survive some unfortunate and unexpected circumstances.
For some reason, starting a fire efficiently seems daunting to most men that don’t do it on a regular basis. I mean.. No one wants to look like a fool.
Truth be told, it’s not all that difficult.
So join me. Let’s build your confidence in your ability to light that fire that warms the souls of your family and peers, ignites camaraderie, and makes you puff up your chest thinking, “Yeah, I did that.”
Choose your spot.
Choosing your spot is actually quite simple.
The first thing to be aware of is any rules or laws against fire or burning in the area you’re in. Some campgrounds prohibit fires, and some counties have burn bans in effect during droughts.
If the area you’re in has a designated fire pit area, then there you go!
If you need to establish your own burn area, there are a few things to be aware of in order to keep the fire in the area you want.
- If possible, build the fire in an area where the surrounding ground is either dirt or the grass is wet.
- Choose an open area away from possible fuel such as tents, brush, dead leaves, or anything that might not take a fly away ember too lightly.
- Be aware of wind direction and speed. Heavy wind will make fire spread a higher danger. If there’s a light breeze, maybe choose a spot downwind of your camping area or areas with other people. Smoke will embed it’s polarizing smell into all of your things, and fly away embers could possibly set your camp ablaze.
Prepare your pit.
The first thing to do to prepare your pit is clear the surrounding areas of any loose leaves, twigs, or grass.
Ideally, you would dig the pit out to keep all of the burning ash and wood collected in the same spot. So if you have means of digging, the ideal depth would be about 1 foot. You can make it work without digging, obviously. But digging the pit out fulfills the true meaning of a fire pit.
Build your fire.
Now to the juicy stuff. What you actually came here for. We are going to get the fire rolling.
A quick safety tip – make sure you have means of extinguishment nearby. A source of water helps. A shovel to use dirt to smother the fire is a good idea, as well.
Now, you’ll need something to burn. Let’s gather some wood.
There are 3 main categories of your fuel you’ll be using.
- Tinder. This is the stuff that will help you actually start the fire. (Small twigs, leaves, dead grass)
- Kindling. This is slightly larger fuels than tinder that will help promote the fire growth. (Sticks that are slightly bigger than the twigs to may have used as tinder, but are generally not larger than 1” around)
- Fuel. This is the main fuel source for the fire. These are the larger pieces of wood you’ll stack to keep the fire going.
Step 1.
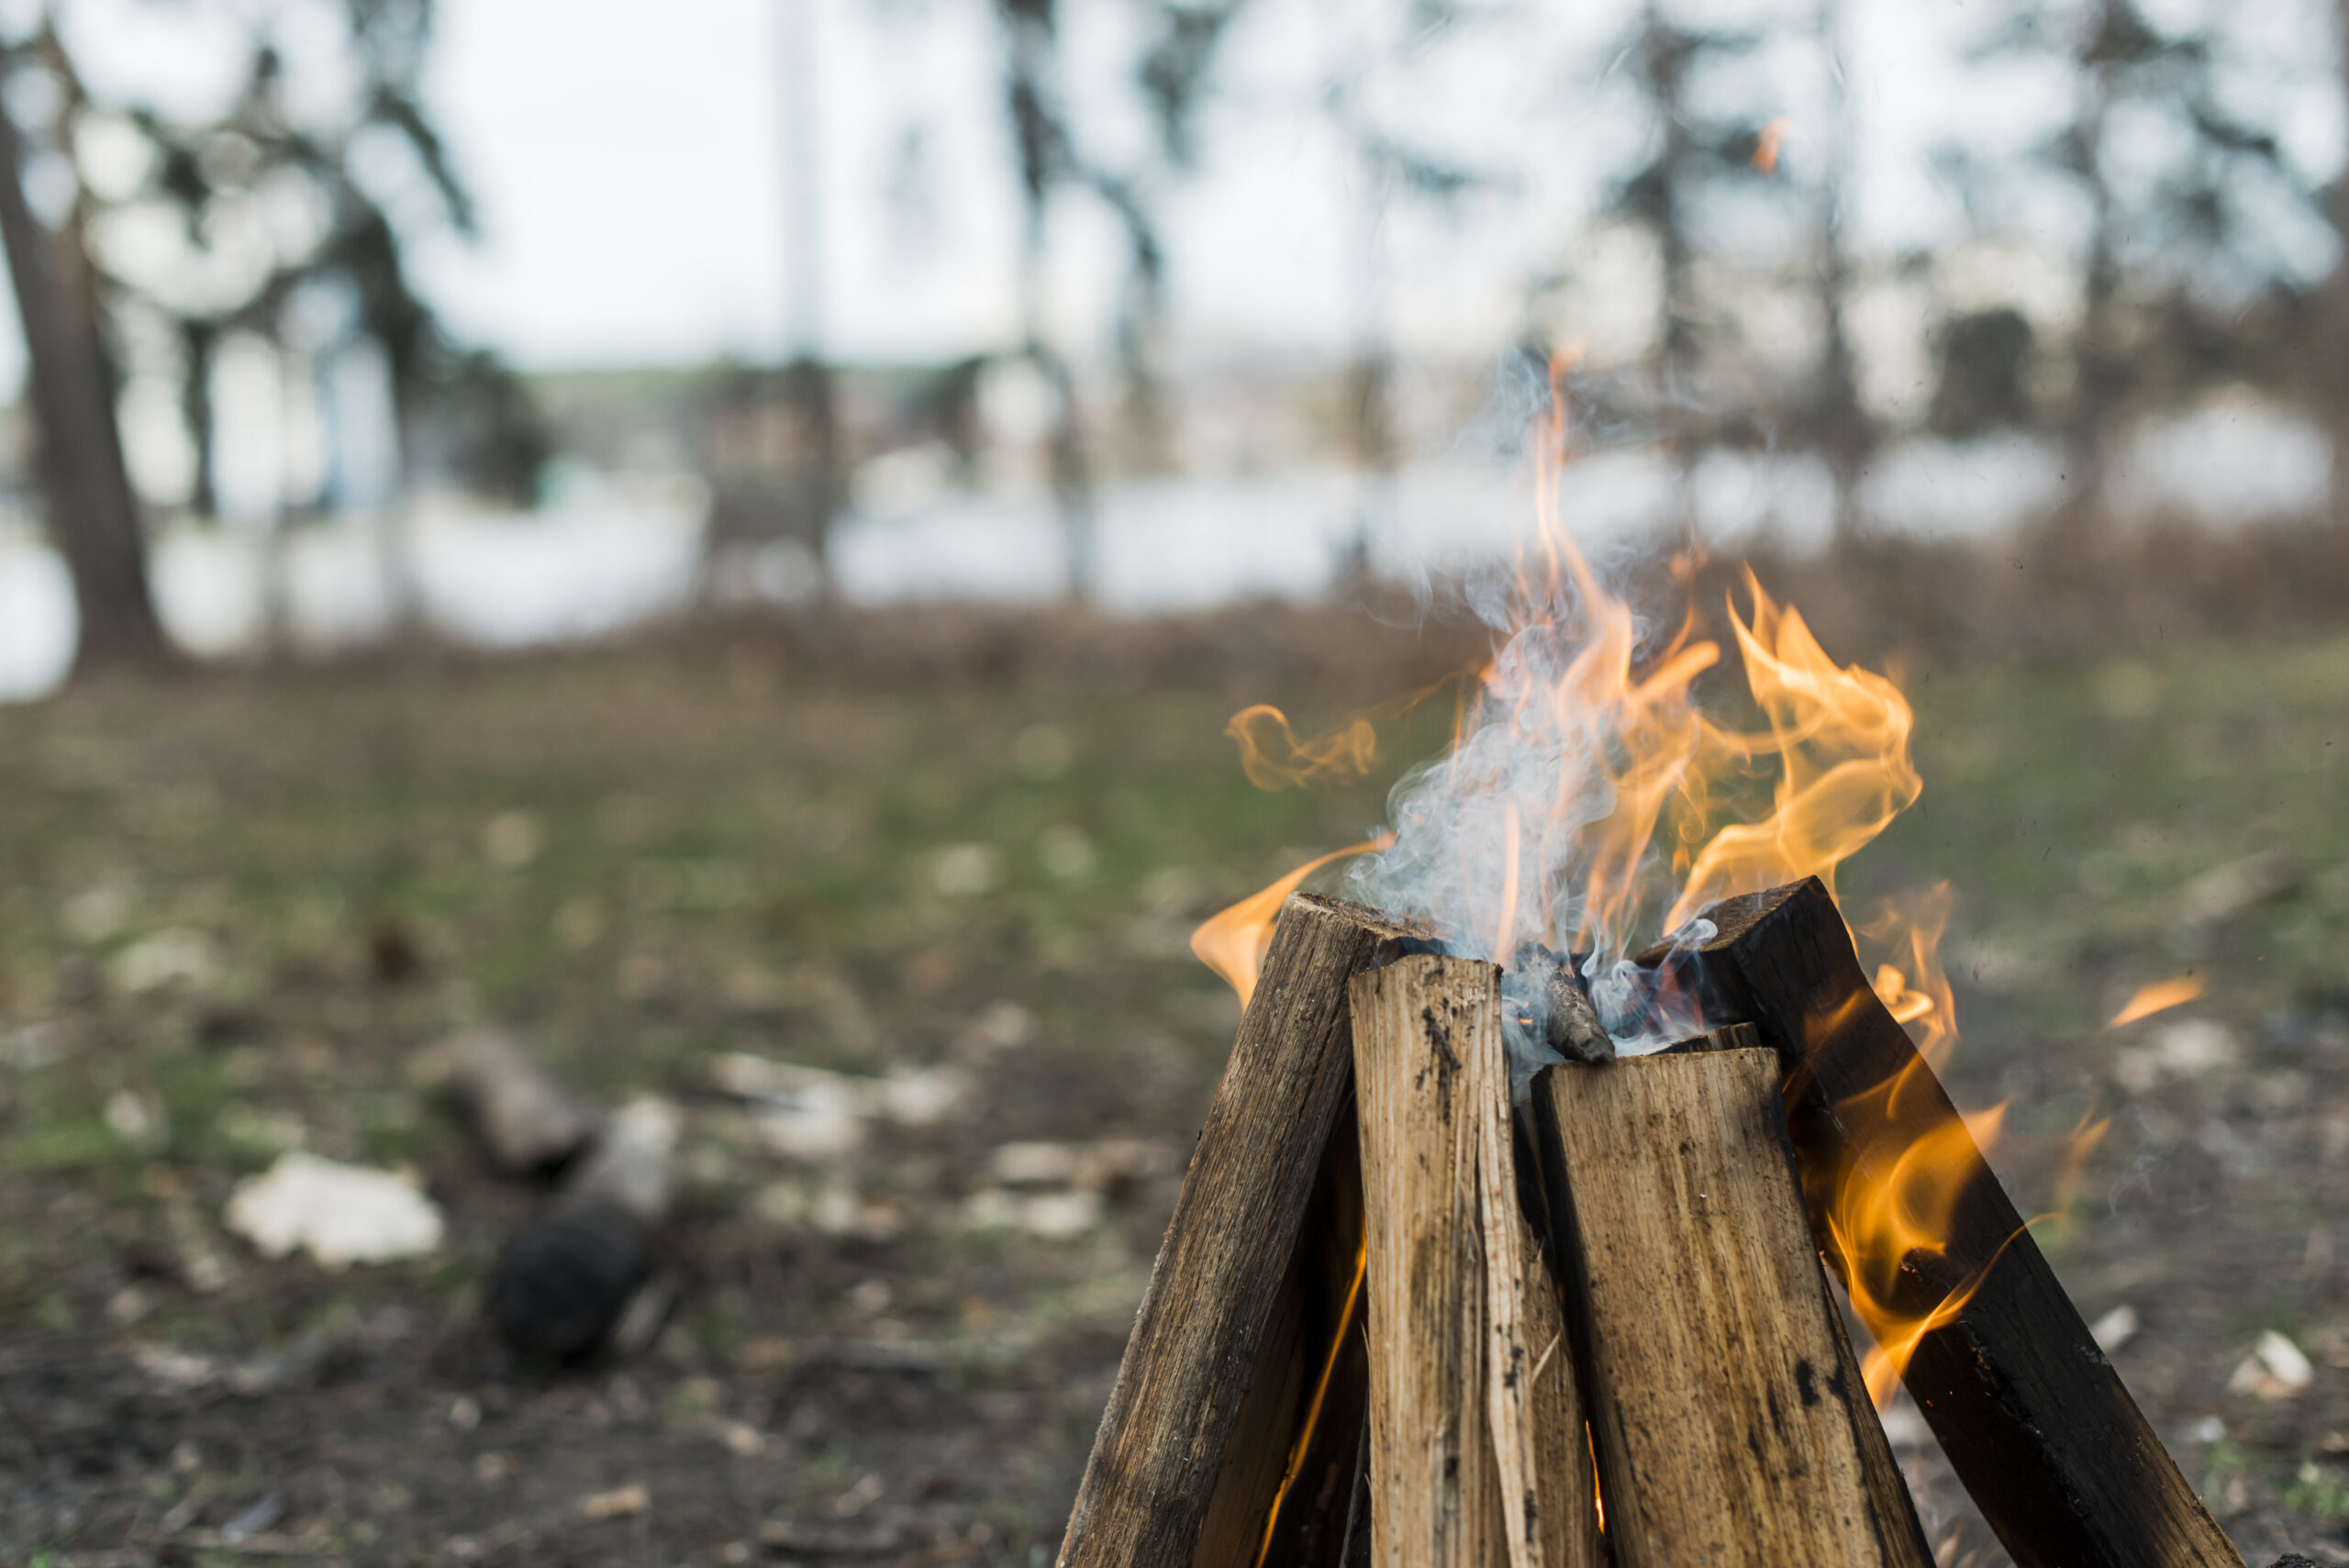
Loosely pile a couple of handfuls of your tinder in the center of the fire pit.
Step 2.
Add some kindling to your pit. You can stack your kindling in different ways. The main ways are either to use the log cabin method (you’ll stack the kindling in a square around the tinder like lincoln logs and then lay your thinnest kindling across the middle), or you can you the good old criss-cross method (laying the kindling criss-cross over the tinder).
Step 3.
The fun part! Light your tinder with a lighter or match. (There are plenty of methods to lighting tinder without a lighter or match, but we aren’t going over those here.)
Step 4.
As the tinder engulfs in flames, add tinder to keep it going. Eventually, the tinder fire will light the kindling. Sometimes it helps to blow at the base of the fire to promote growth and help it light the kindling.
Step 5.
Add your main fuel to the pit once the kindling is lit.
Step 6.
Keep adding fuel to the fire as needed. Once you have a steady fire, add larger pieces of wood to keep it steadily burning.
Extinguishment.
When the party’s over, and it’s time to turn in, we can’t just leave the fire burning outside unattended.
The more campfires you burn, the more familiar you’ll become with when to stop adding fuel to the fire in order to have it burn itself out right on time.
But, sometimes, you need to put it out. Something came up and you have to leave, or whatever happened, it’s time to put it out.
If you have a water source, drown the fire and embers in water. All of them. Once you stop seeing red and stop hearing a hissing sound from the water, you’ve probably got it.
If you don’t have water, bury the fire in dirt. The dirt will smother the fire and embers, so it can’t burn. You need to make sure you cover all of the embers completely. This method will require a longer babysitting period. You aren’t actively cooling it with water, so once you smother it, you’ll have to make sure it cools naturally.
Smokey The Bear says, “If it’s too hot to touch, it’s too hot to leave.”
See, simple enough! Nothing daunting here.
Now sit back, relax, and watch the embers of your glowing masterpiece float into the atmosphere while you hear the relaxing crackling of your work.
Soak it in. Everyone is glad you were here.
Starting a campfire is more than a practical skill, it’s a ritual that connects you to the people around you and the nature we share space in.
Remember, though, with great power comes great responsibility. Safety first. Adhere to our safety tips here, and make sure you leave your campground better than you found it.
As you venture on, may your campfires burn bright with warmth, laughter, and camaraderie.
(Image by Freepik)